
A wood-burning stove seemed much better ecology, particularly since we had
Blagrove to call upon for wood supplies. We looked at lots of glossy brochures
but the stoves, the flue and the installation seemed all equally expensive.
By lucky chance we stumbled on Stove World
who were at Hannington, just south of Newbury.
They import wood-burning stoves from China at an excellent price: £220 for
the 5KW stove we wanted. We went to see their showroom, in a old
farm building in the countryside, and bought one on my birthday
28/6/2010 to be delivered later. The old simulated black marble
hearth needed to be extended. We bought in Didcot for £16 two slabs of
real slate which were quite easy to lay on top of a concrete base in front of the hearth.
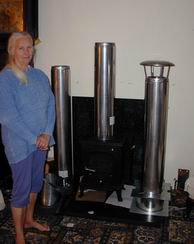
Next came the flue. Our design was a straight vertical tube up through
the ceiling and through the tiles. The flue was easy to buy
from Stoves on line in Devon. They had a design
service that made sure that all was consistent with the building regulations.
Their representative, Ben could not have been more helpful. However their Selkirk stainless-steel double-walled
design was not cheap and their bill came to £677 - three times the price of the stove!
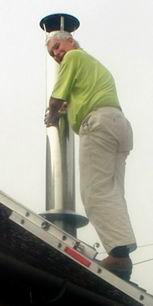
The excellent Selkirk flue design and clear instructions made the installation seem a simple job! The trouble was that to do the job yourself meant going through the Building Control system. In the end this costed £108 and involved several visits by Tony, our local building inspector. He approved the design, and made several good suggestions to improve the safety of the installation. Step #1 was cutting a simple hole to take the ceiling support structure through which the actual flue pipe continued upwards, and step #2 was to fit the lovely lead flashing supplied around the flue and cut some tiles to fit snuggly around it. It seemed no time at all before step #3, the fitting of the top cowl and getting signed off by the inspector.
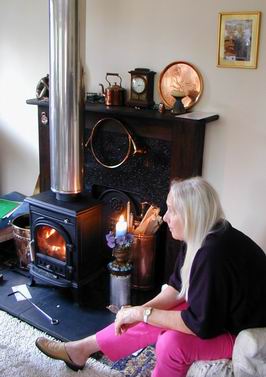
We are very happy with the fire. On cold winter days we light it every evening, and it is a joy to sit quietly and watch the flames. Of course there is hard work clearing it out each morning and cutting the day's wood - done by hand saw so far - but it is well worth it!
Copyright 2010 Colin Windsor : Last updated 2/12/2010